

Connect Talvin to Zapier
Talvin AI on Zapier starts a Zap when something happens in Talvin, such as a new interview or a candidate status change. You can then post to Slack, add a row to Google Sheets, send an email, and more.
Talvin works as a trigger in Zapier. It has no Zapier actions, so a Zap can’t create or change anything in Talvin.
Before you start
Section titled “Before you start”You’ll need:
- Admin access in Talvin, so you can see Settings.
- A Zapier account. If you don’t have one, sign up at zapier.com.
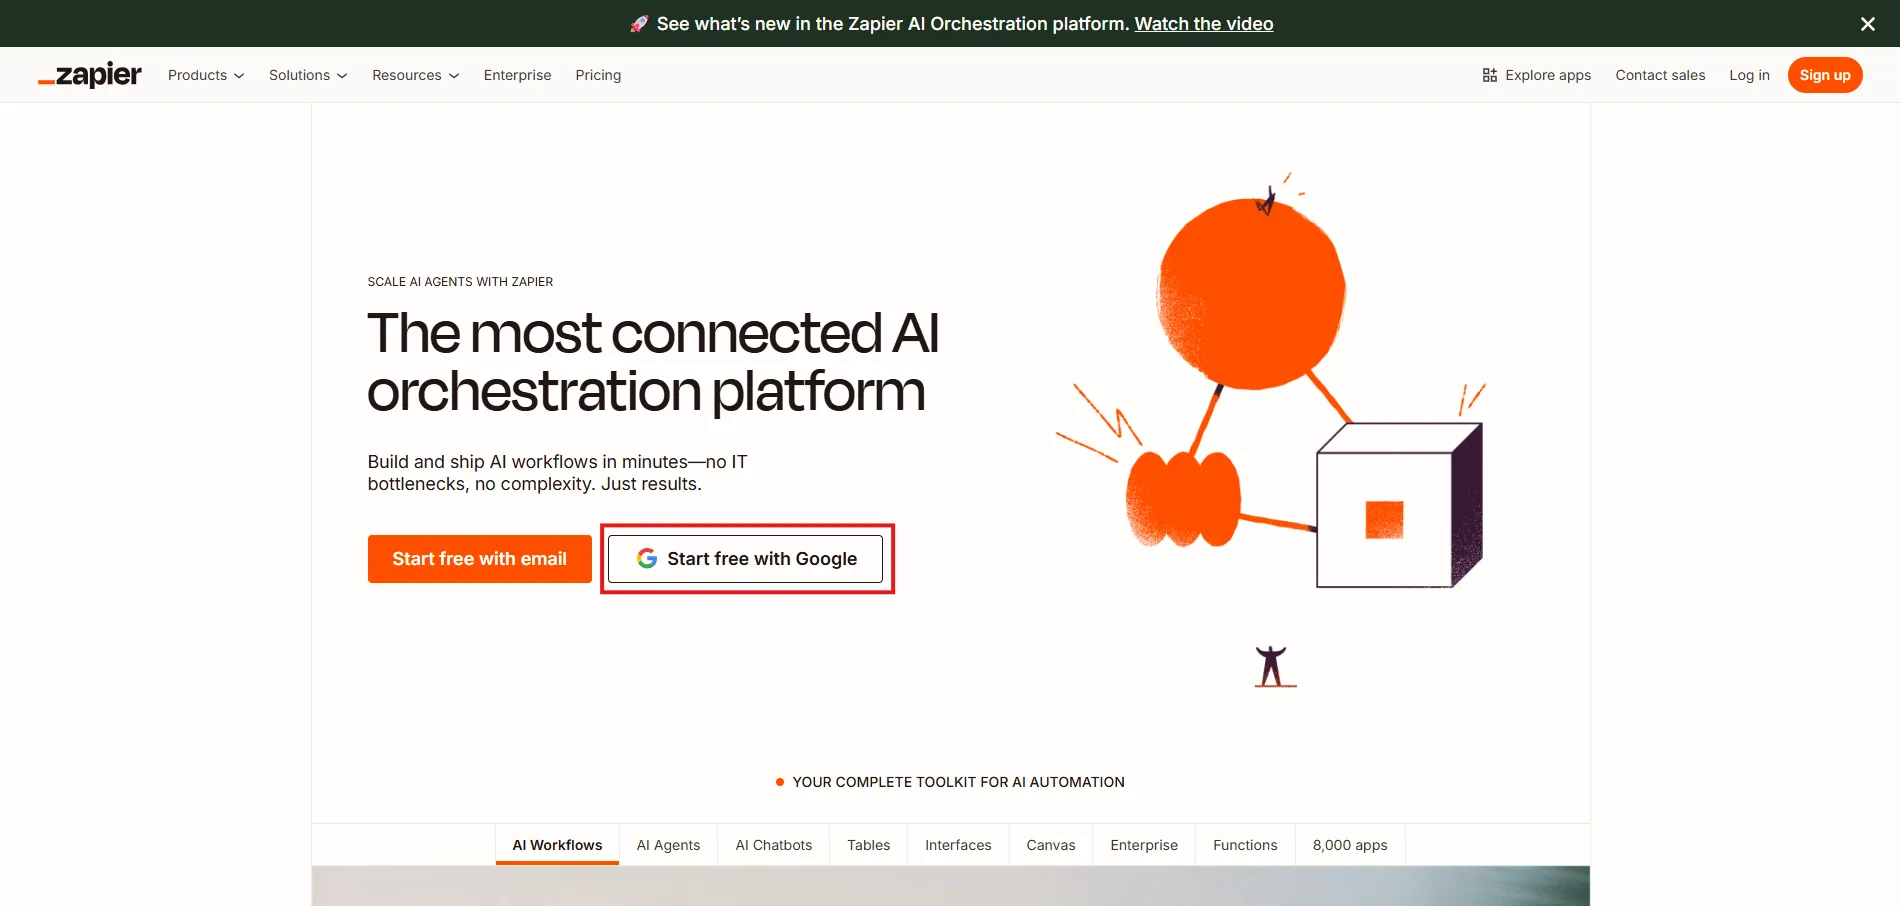
Step 1: Create a Zapier key in Talvin
Section titled “Step 1: Create a Zapier key in Talvin”- In Talvin, click Settings in the left sidebar. The Integrations page opens.
- On the API Keys tab, click Create API Key.
- In Integration Platform, choose Zapier, then click Create API Key.
- Copy or download the key from the Your New API Key window. You’ll paste it into Zapier in Step 3.
- Copy your Organization ID from the top of the Integrations page. You’ll need it in Step 3 too.
You only see the key once. For more on keys, see Create and manage API keys.
If Zapier isn’t in the list, your organization already has a Zapier key. Use that key, or rotate it to get a new one.
Step 2: Accept the Talvin AI invite on Zapier
Section titled “Step 2: Accept the Talvin AI invite on Zapier”-
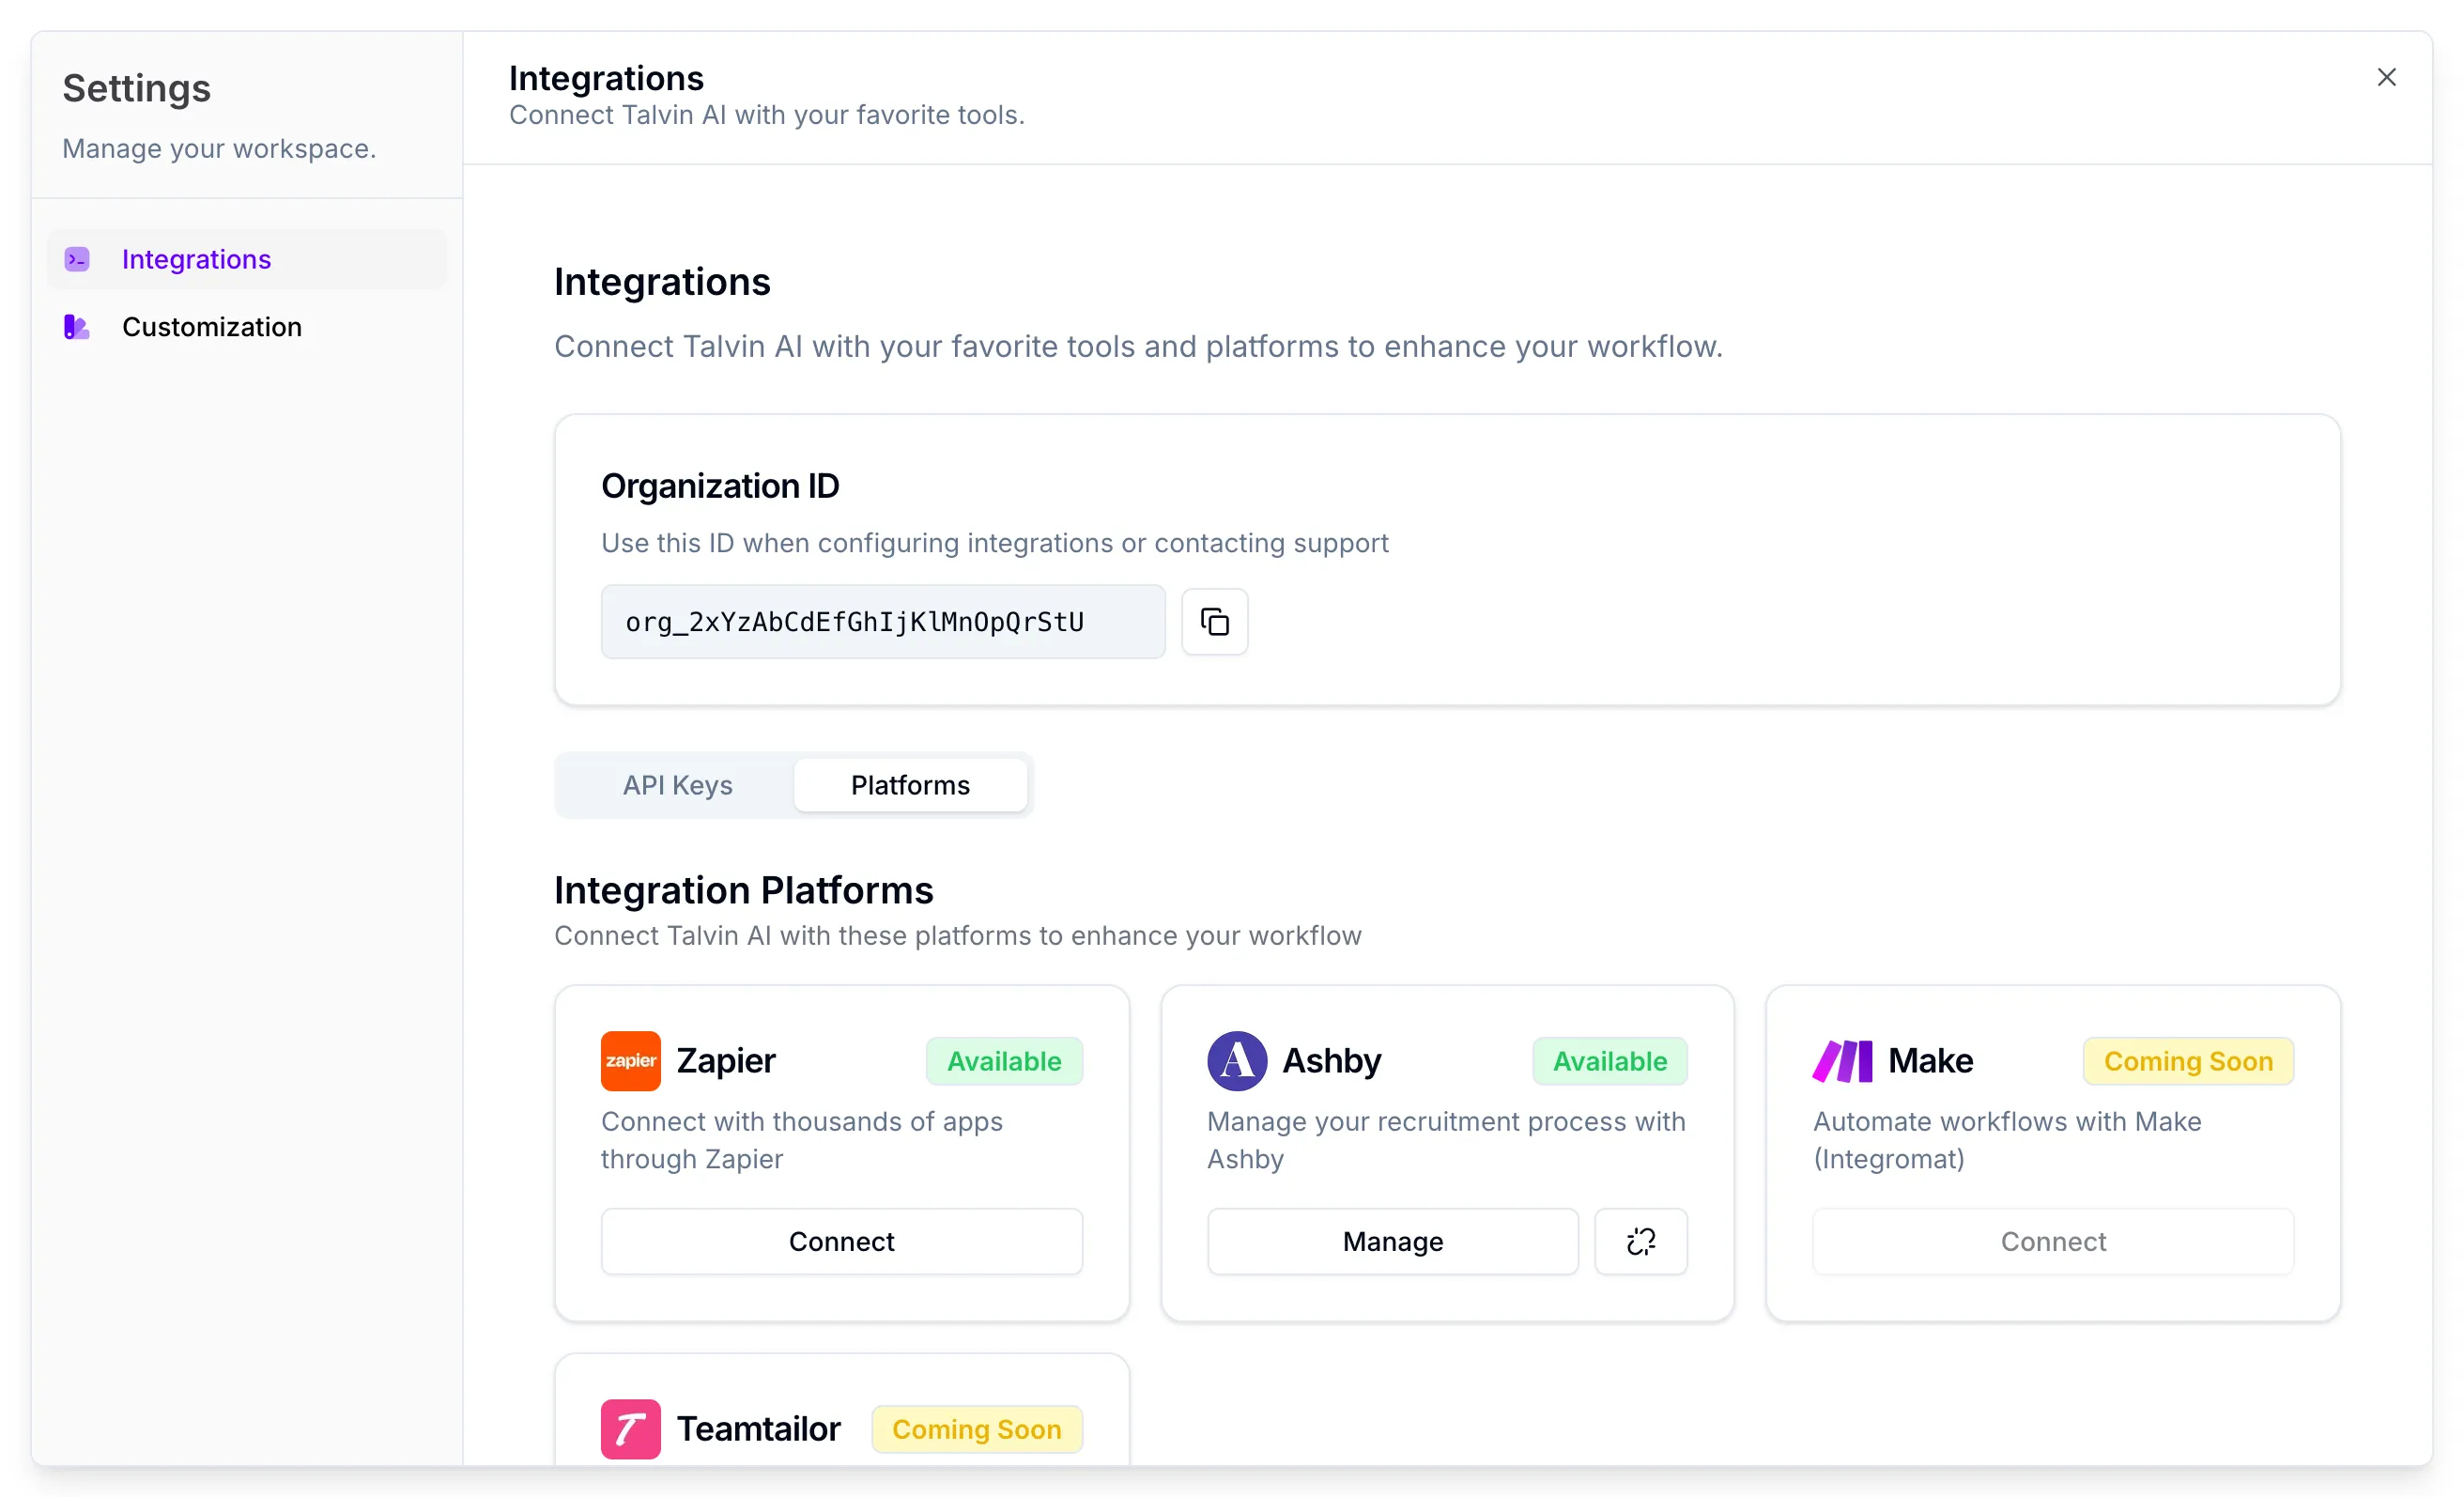
In Talvin, open Settings and click the Platforms tab.
-
On the Zapier card, click Connect. Zapier’s invite page opens in a new tab.
-
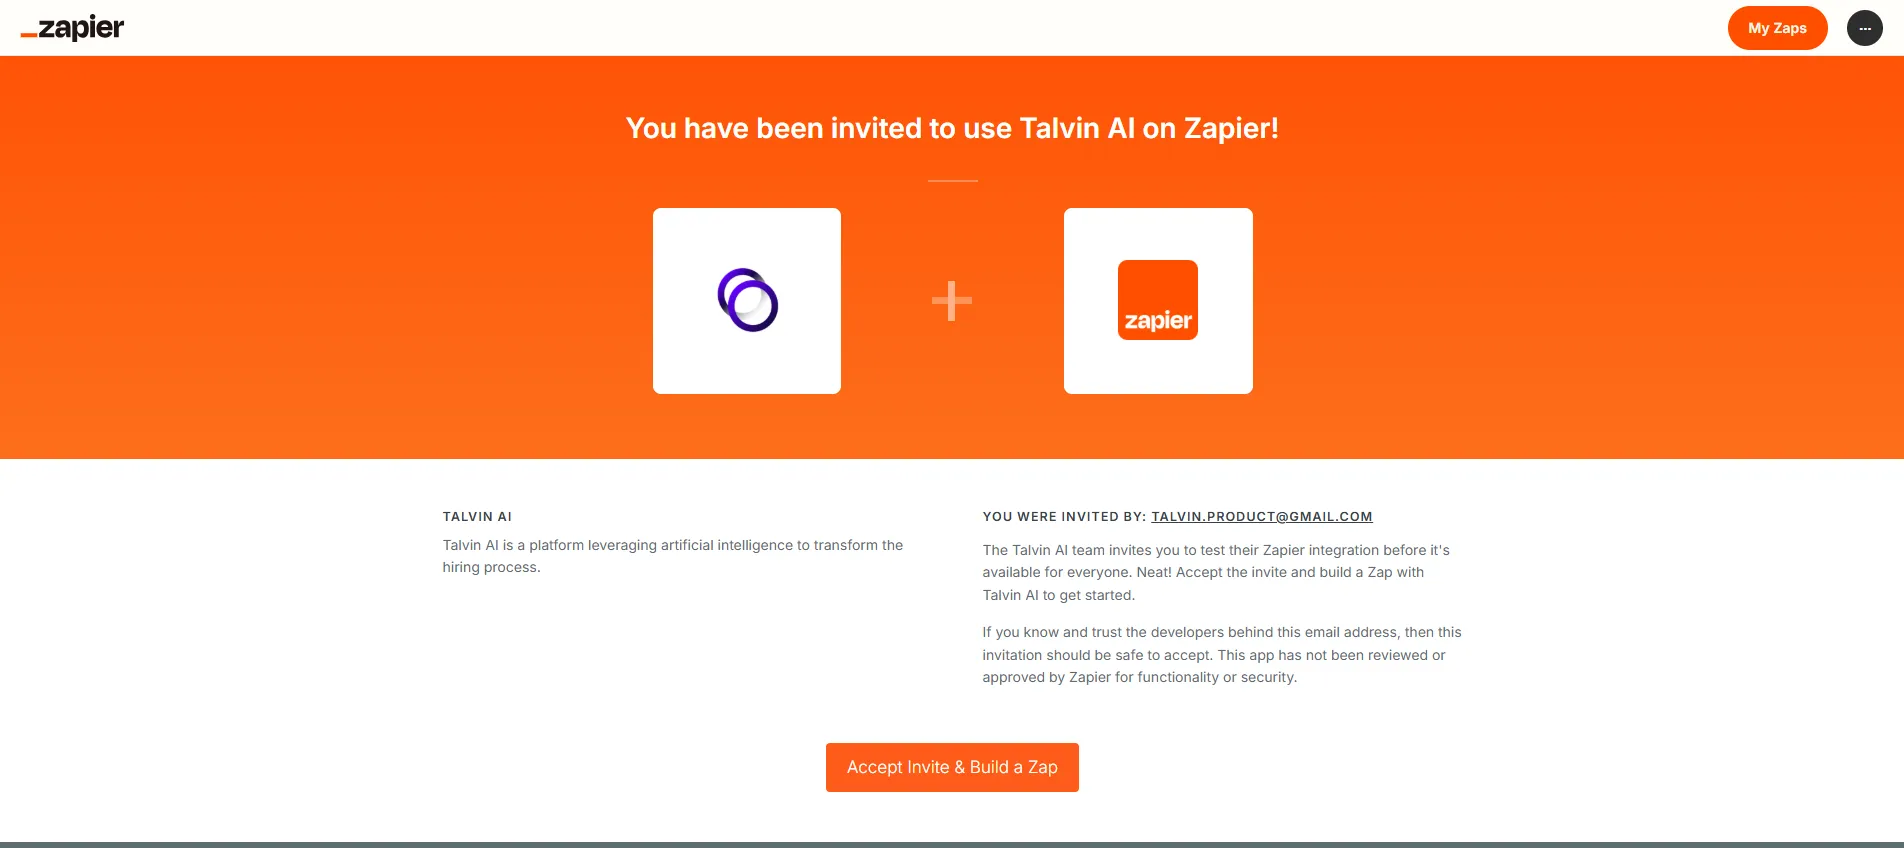
Click Accept Invite & Build a Zap. This adds Talvin AI to your Zapier account.
The Zapier card in Talvin always shows Connect. Talvin doesn’t show whether your Zapier account is connected, so check your connections in Zapier instead.
Step 3: Connect your Talvin account in Zapier
Section titled “Step 3: Connect your Talvin account in Zapier”These steps happen in Zapier, so your screens may look a little different.
-
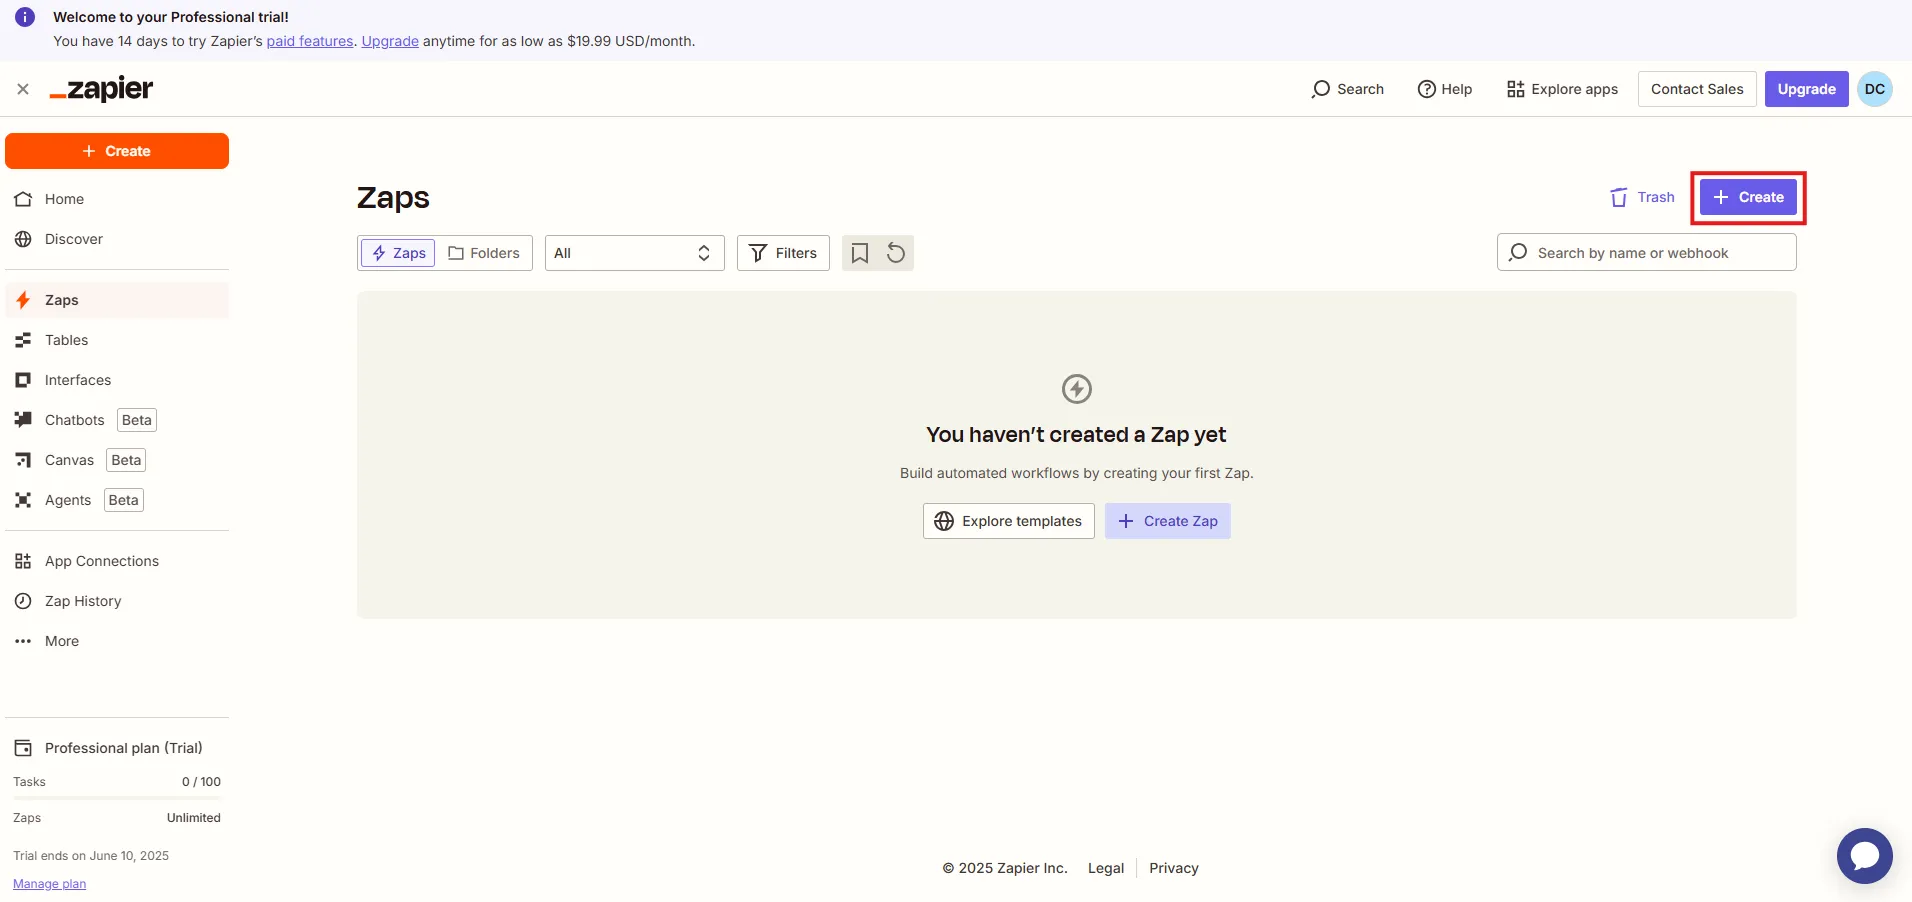
In Zapier, click Create to start a new Zap.
-
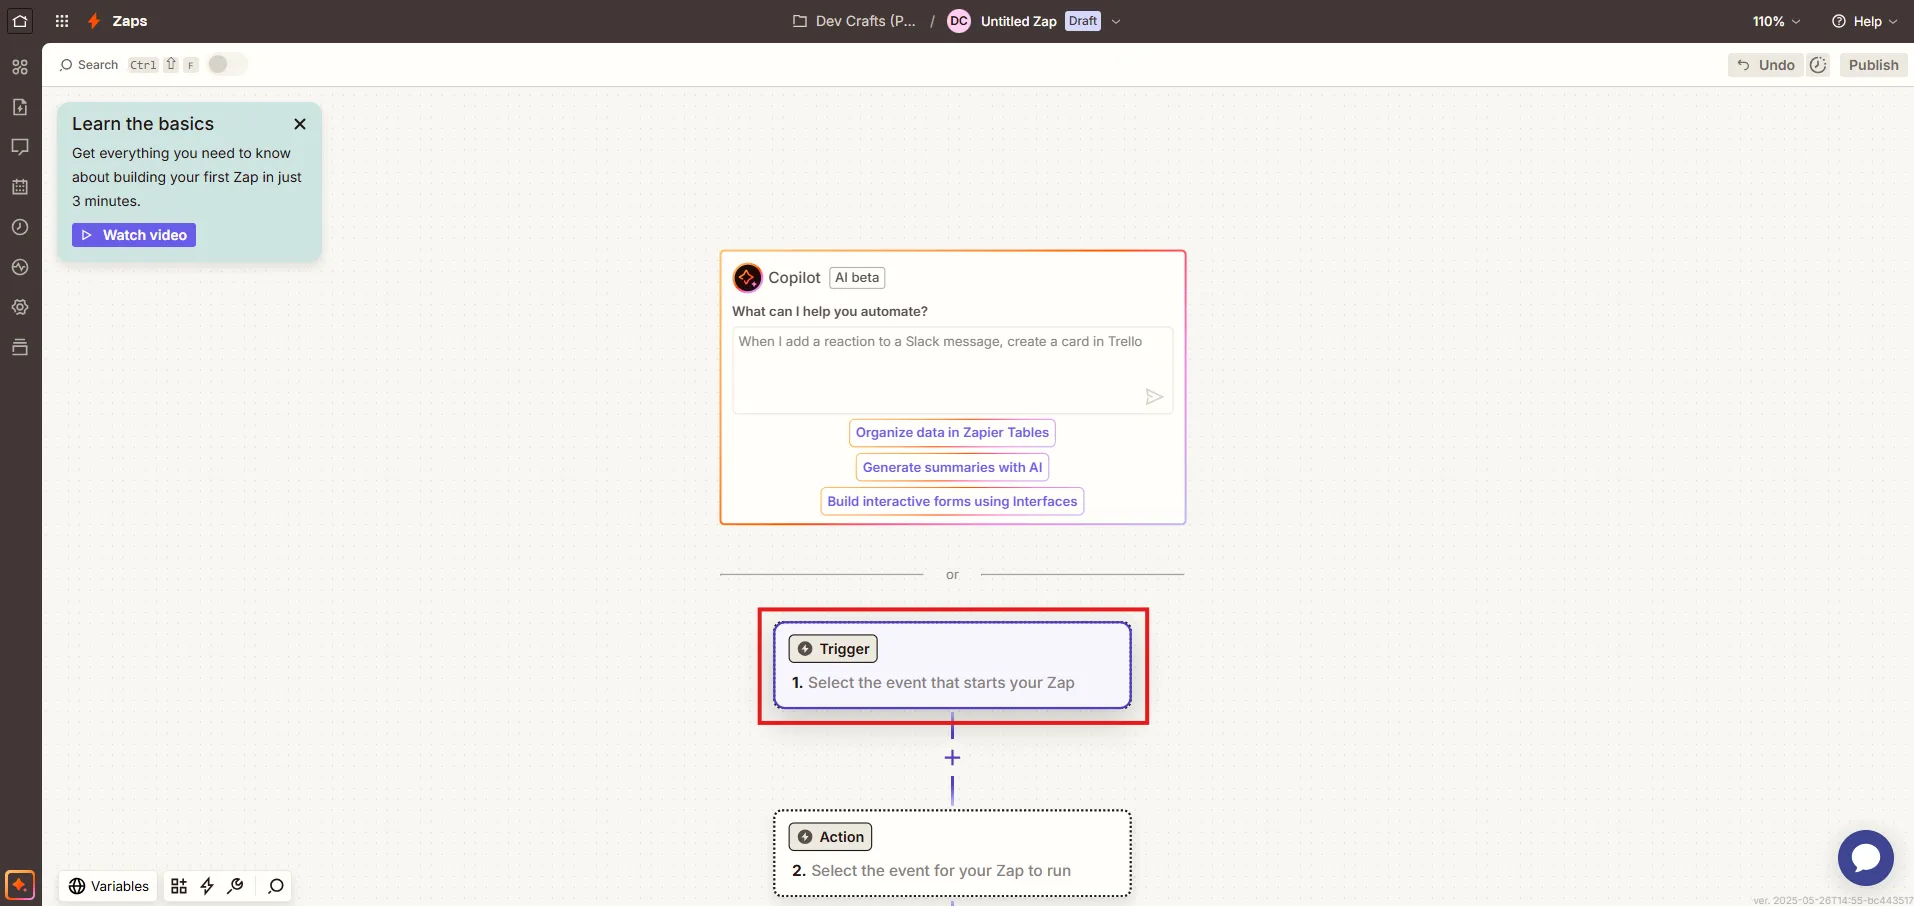
Click the Trigger step.
-
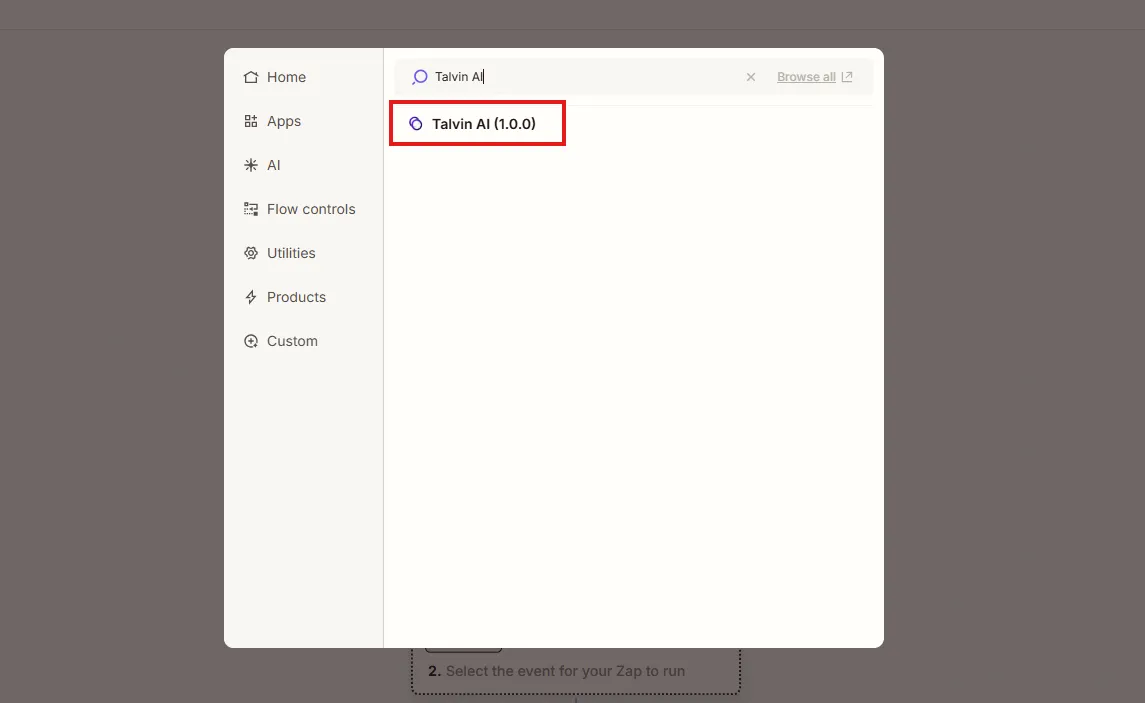
Search for “Talvin AI” and select it.
-
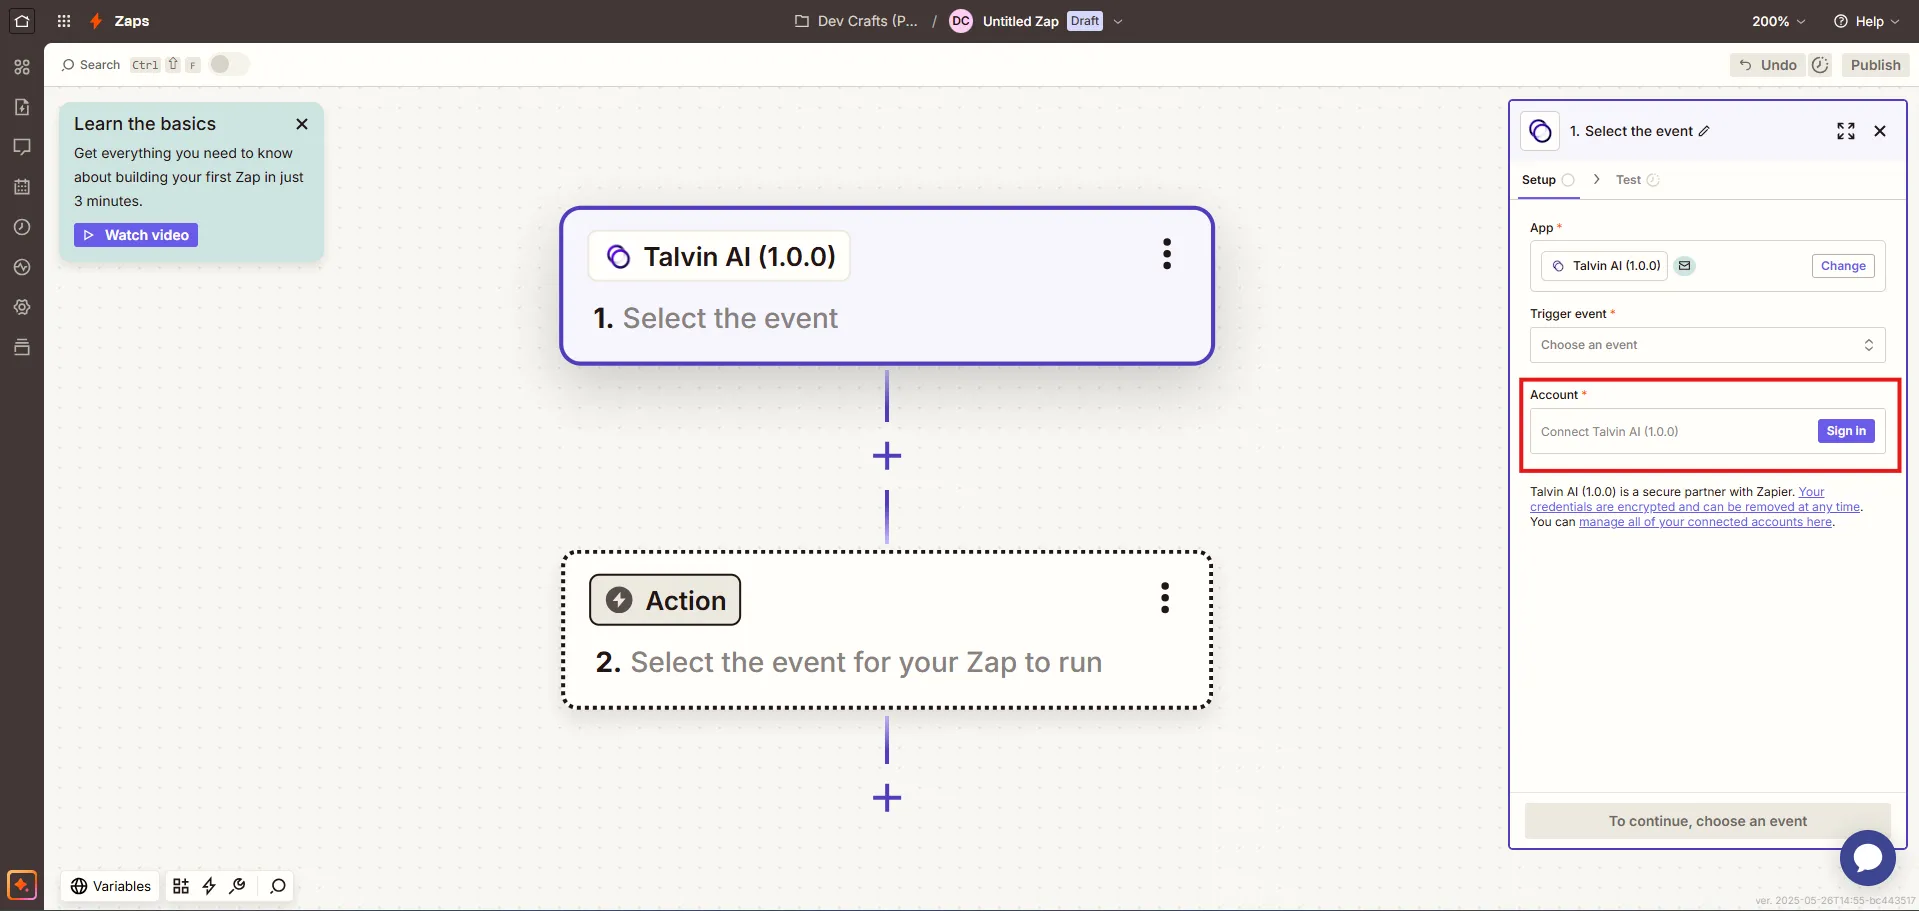
Under Account, click Sign in.
-
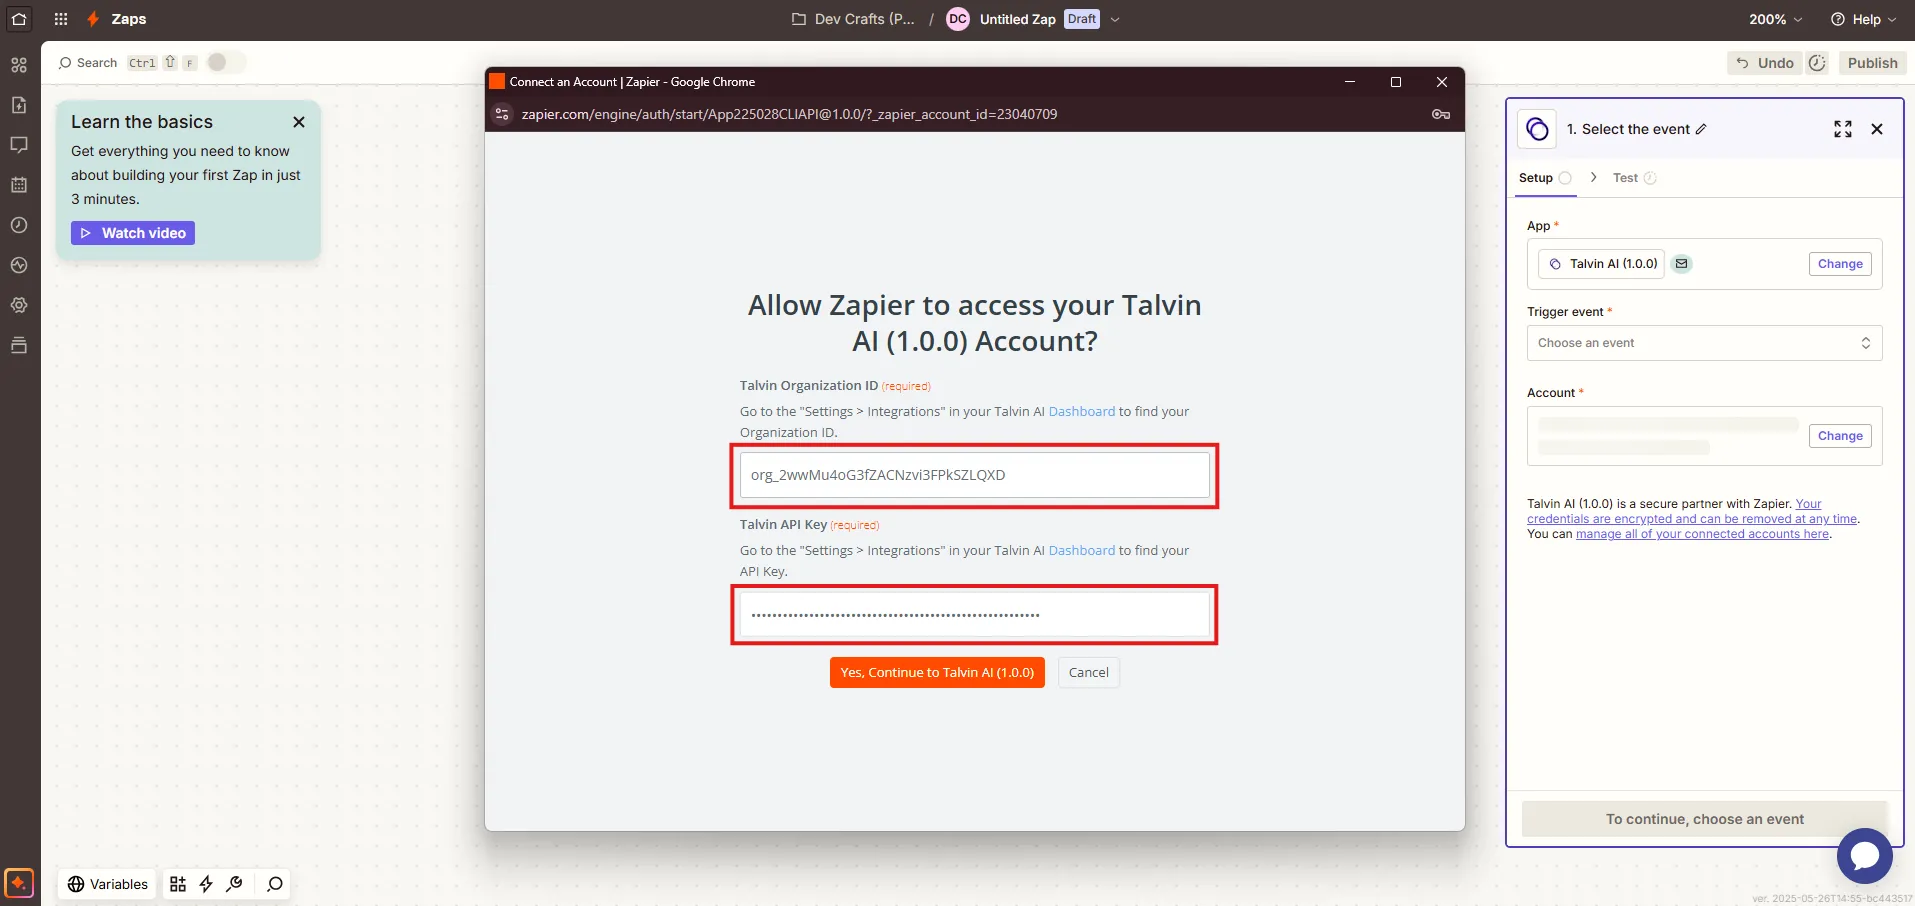
Paste your Organization ID into Talvin Organization ID and your Zapier key into Talvin API Key.
-
Click Yes, Continue to Talvin AI (1.0.0). Your Talvin account now appears under Account, named after your Talvin organization.
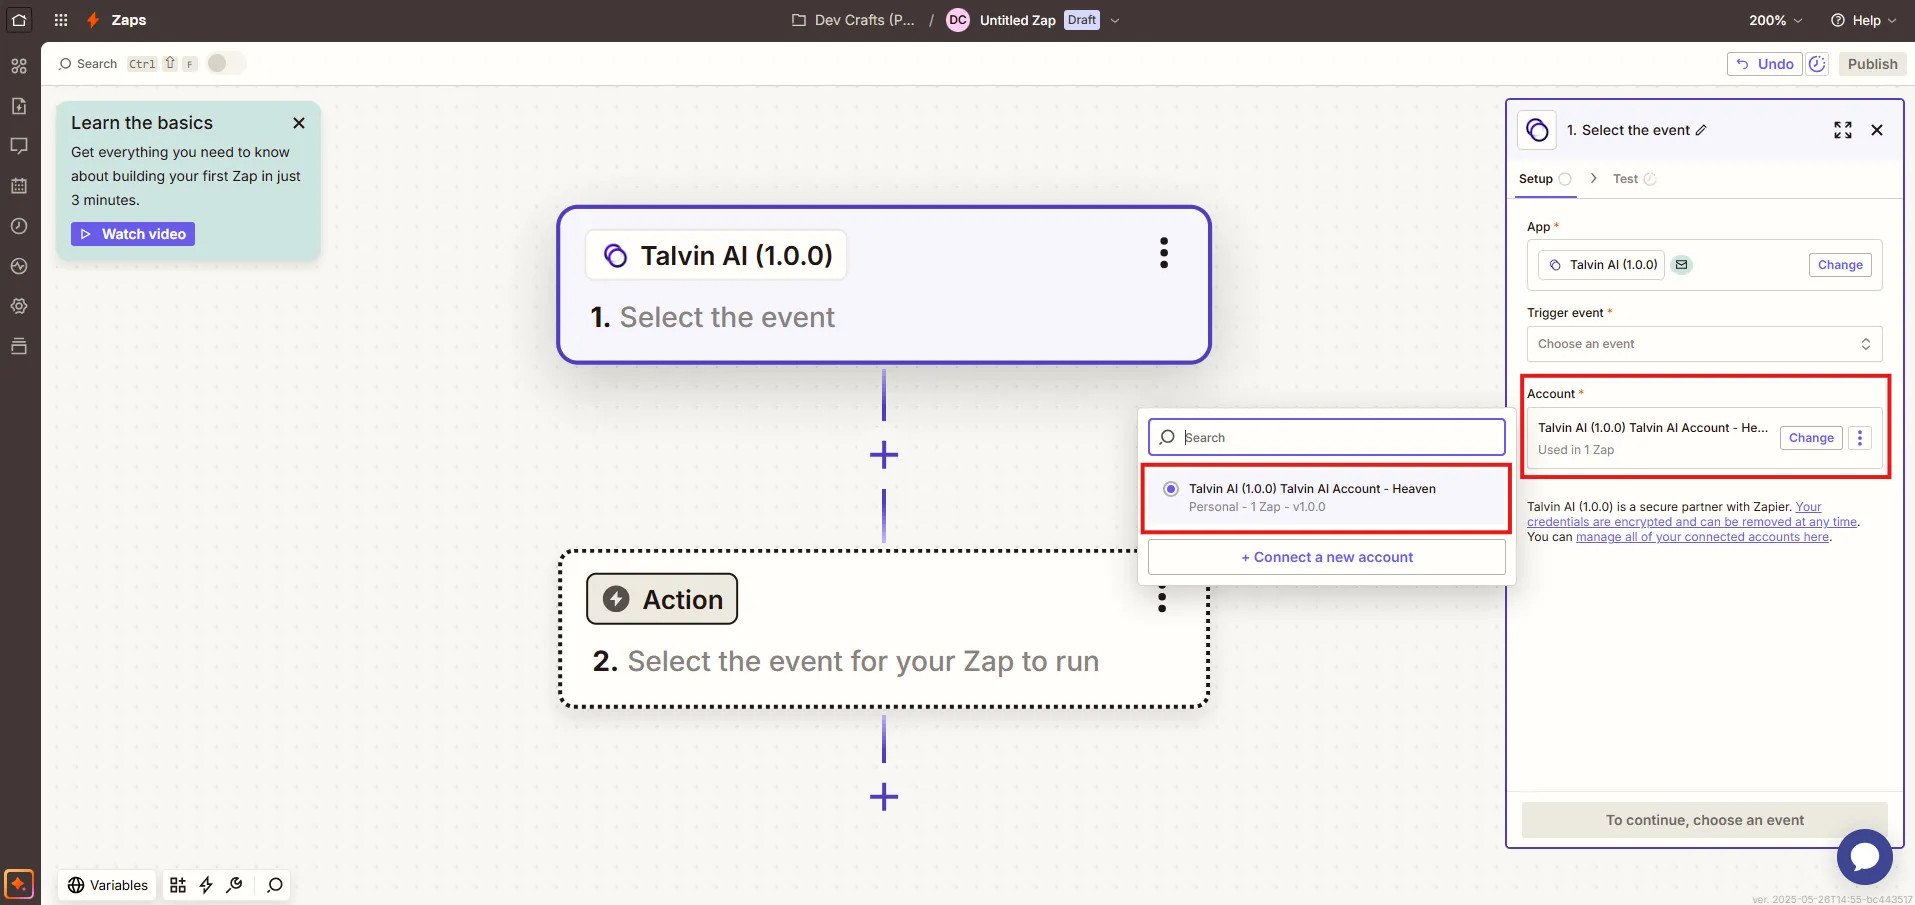
If the connection fails, check that you copied the whole key and the Organization ID from the same Talvin organization.
Step 4: Build your Zap
Section titled “Step 4: Build your Zap”Choose a trigger
Section titled “Choose a trigger”Under Trigger event, choose one of these:
| Trigger | When it runs | Data you can use |
|---|---|---|
| New Interview | Someone in your organization creates an interview in Talvin | The interview’s name, description, number of questions, duration and questions |
| Candidate Status Changed | A candidate’s status changes in Talvin | The candidate’s name, email and status, and the interview name |
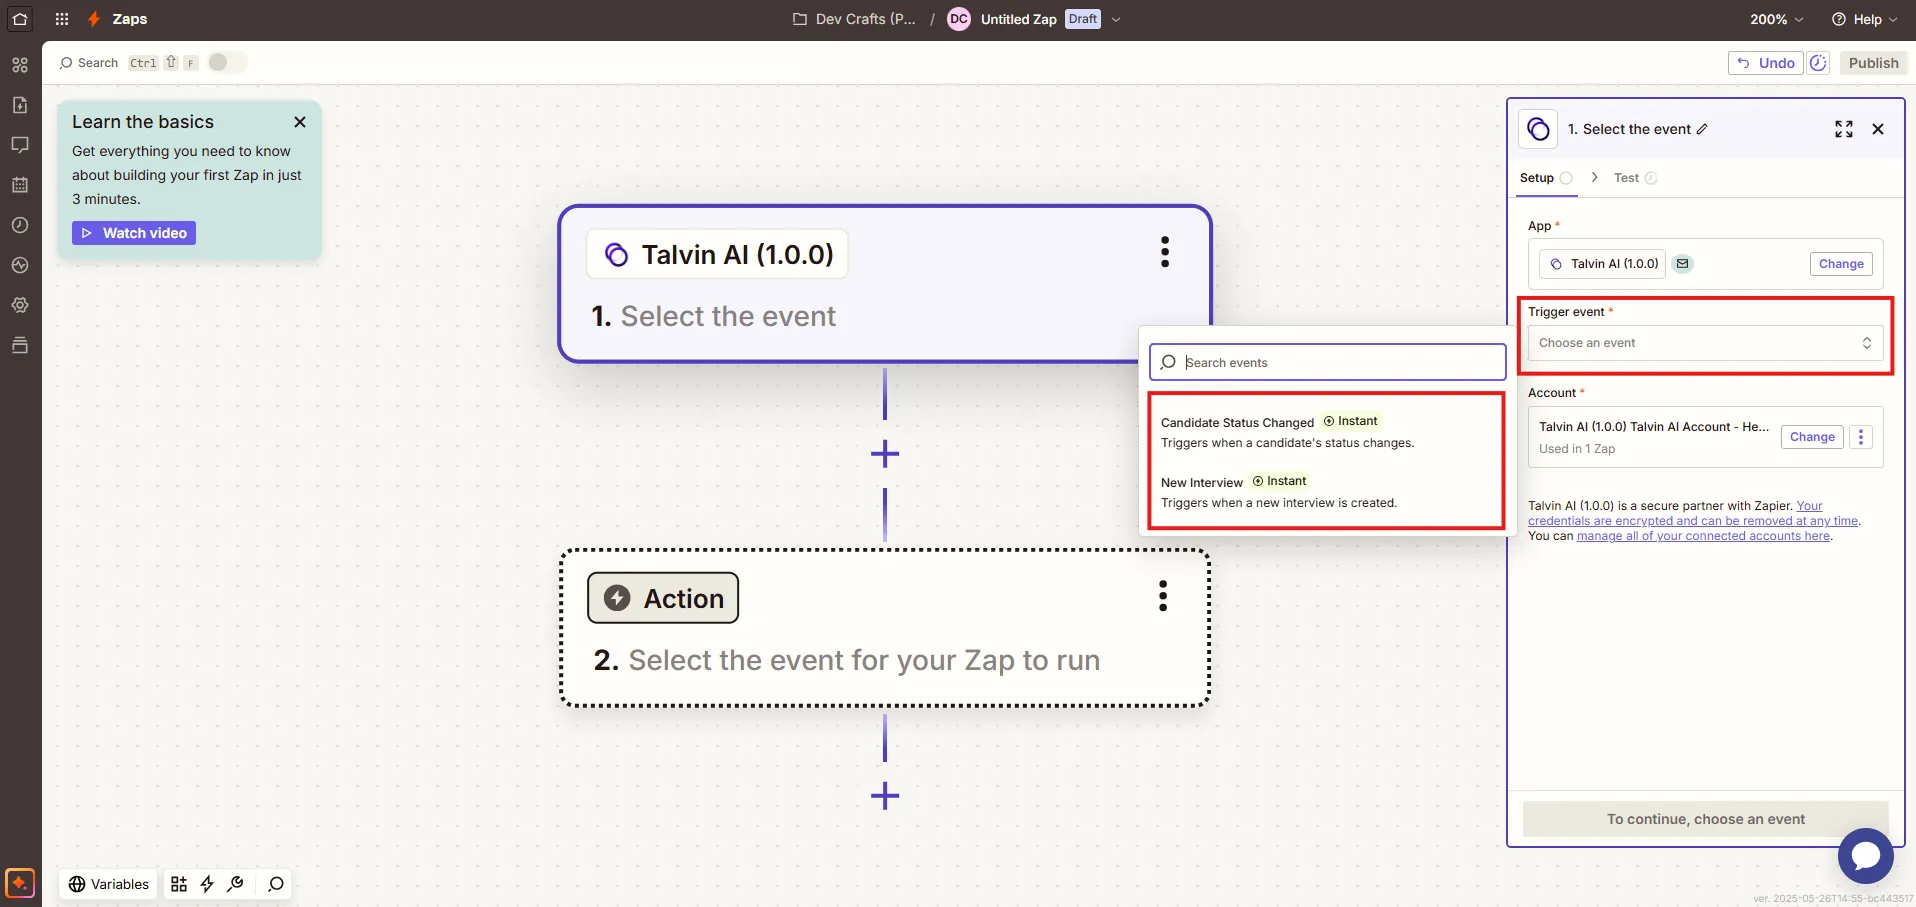
Both triggers are instant: Talvin sends the event to Zapier as soon as it happens.
Add an action
Section titled “Add an action”-
Below the trigger, click + to add an action step.
-
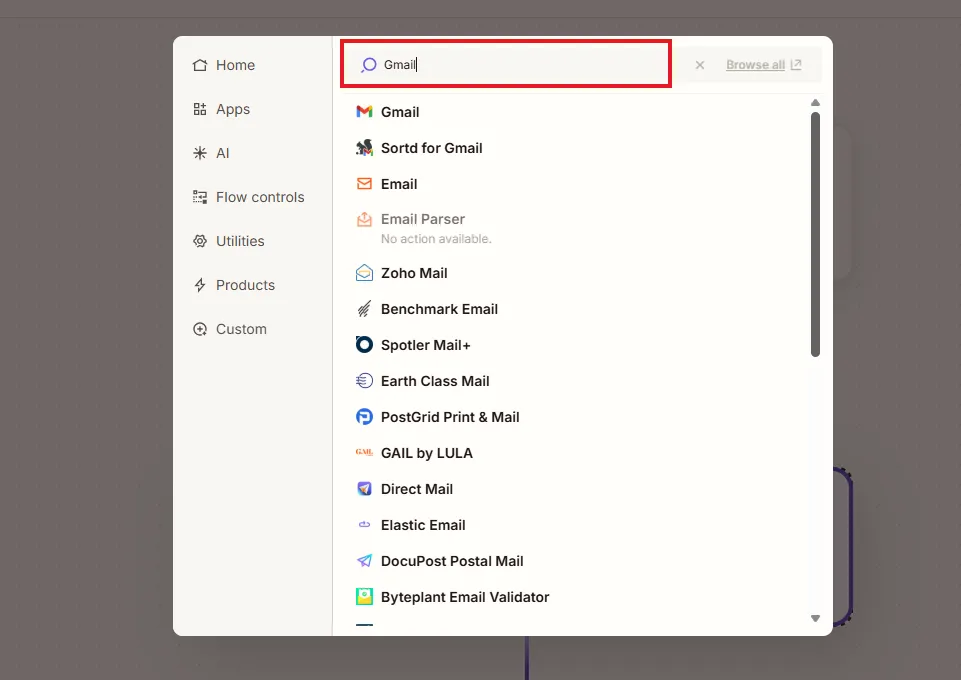
Search for the app you want to use, such as Gmail, Slack or Google Sheets.
-
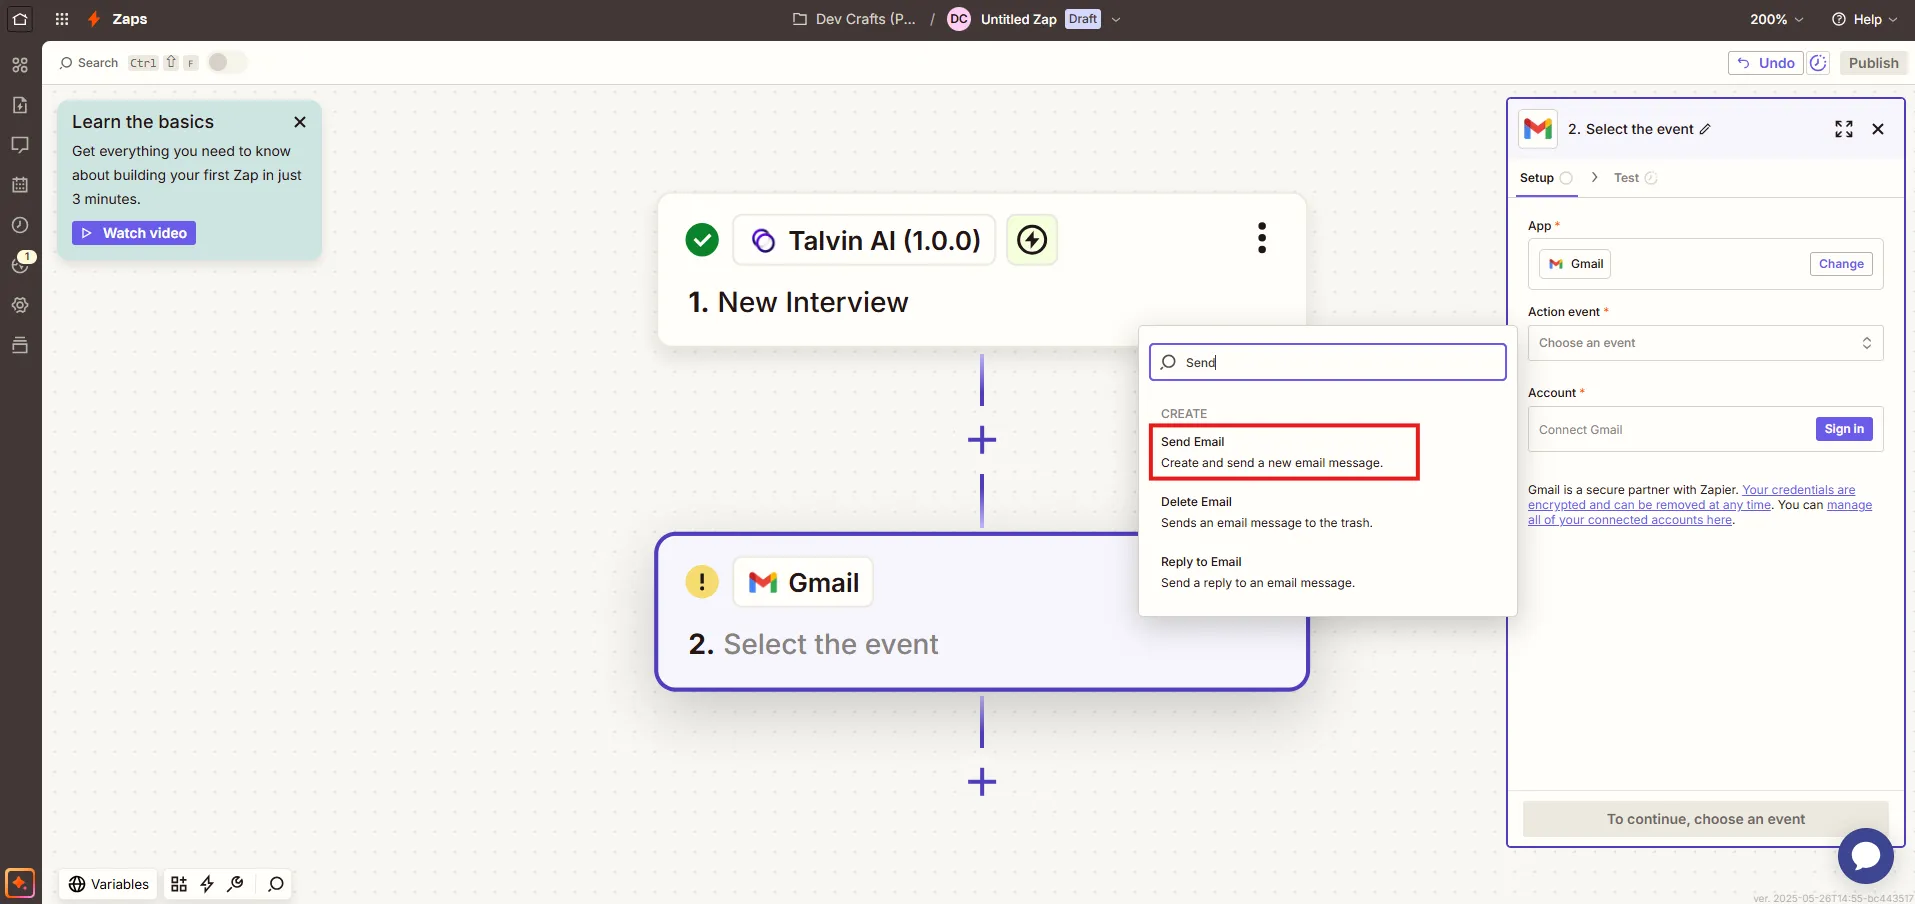
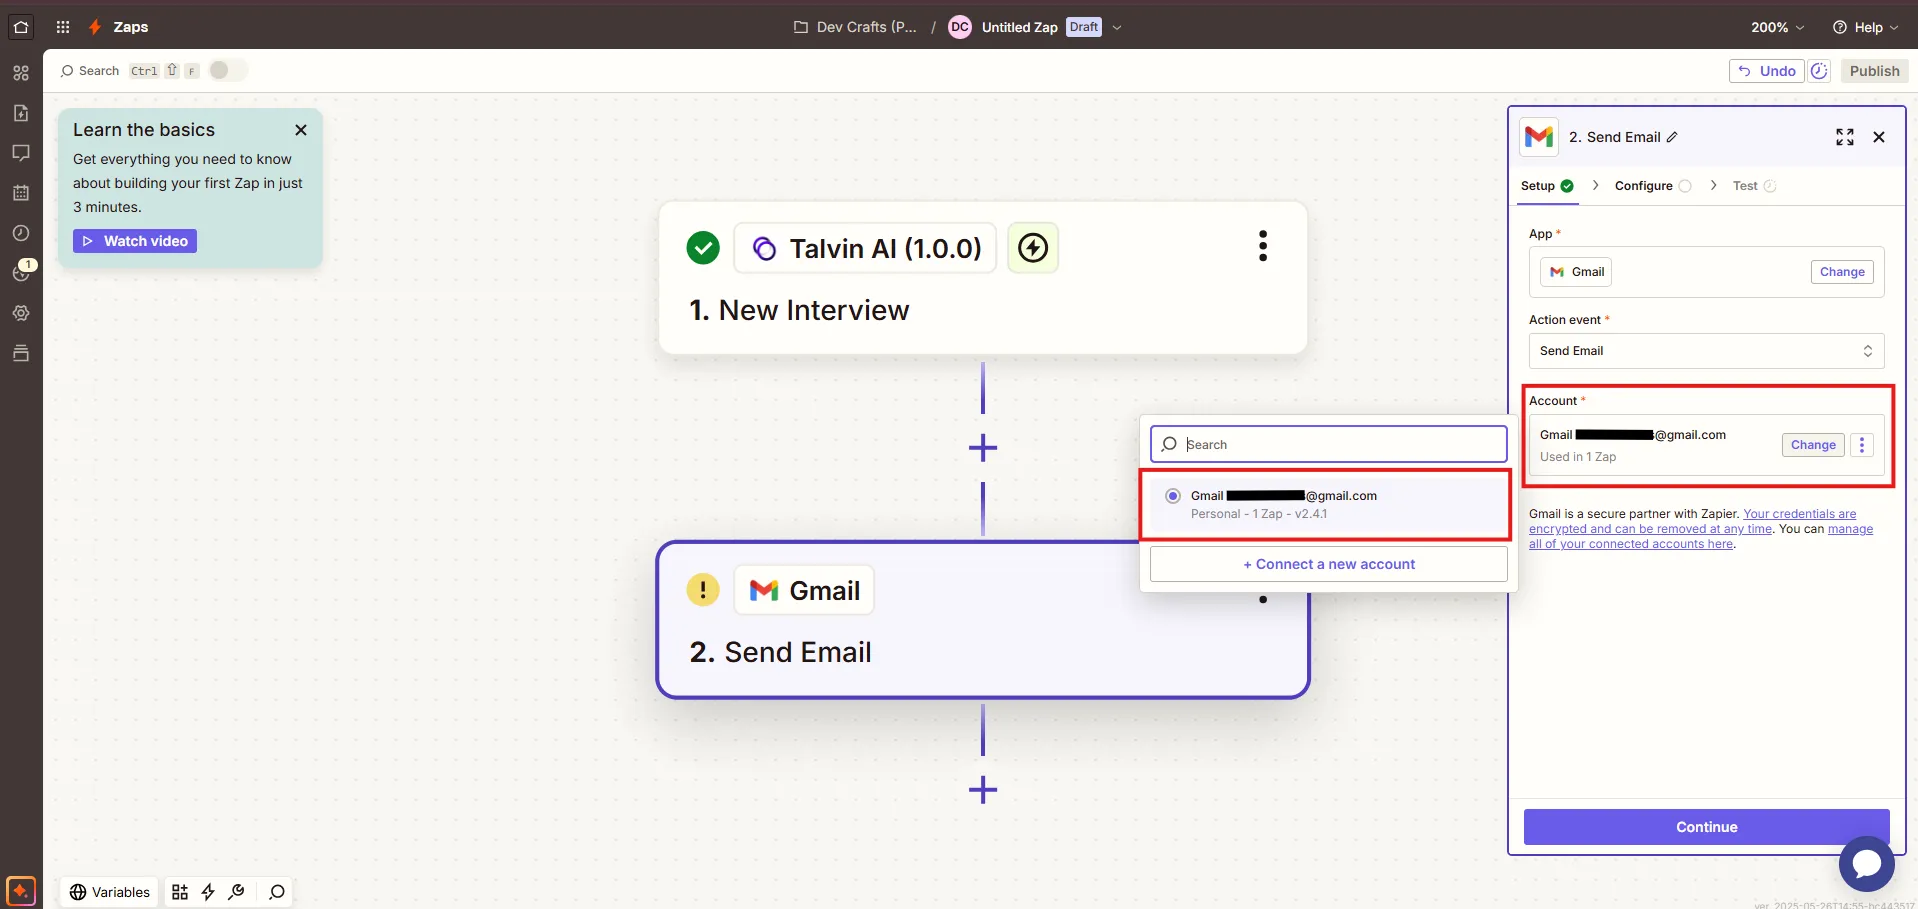
Choose the action event, such as Send Email.
-
Connect your account for that app.
-
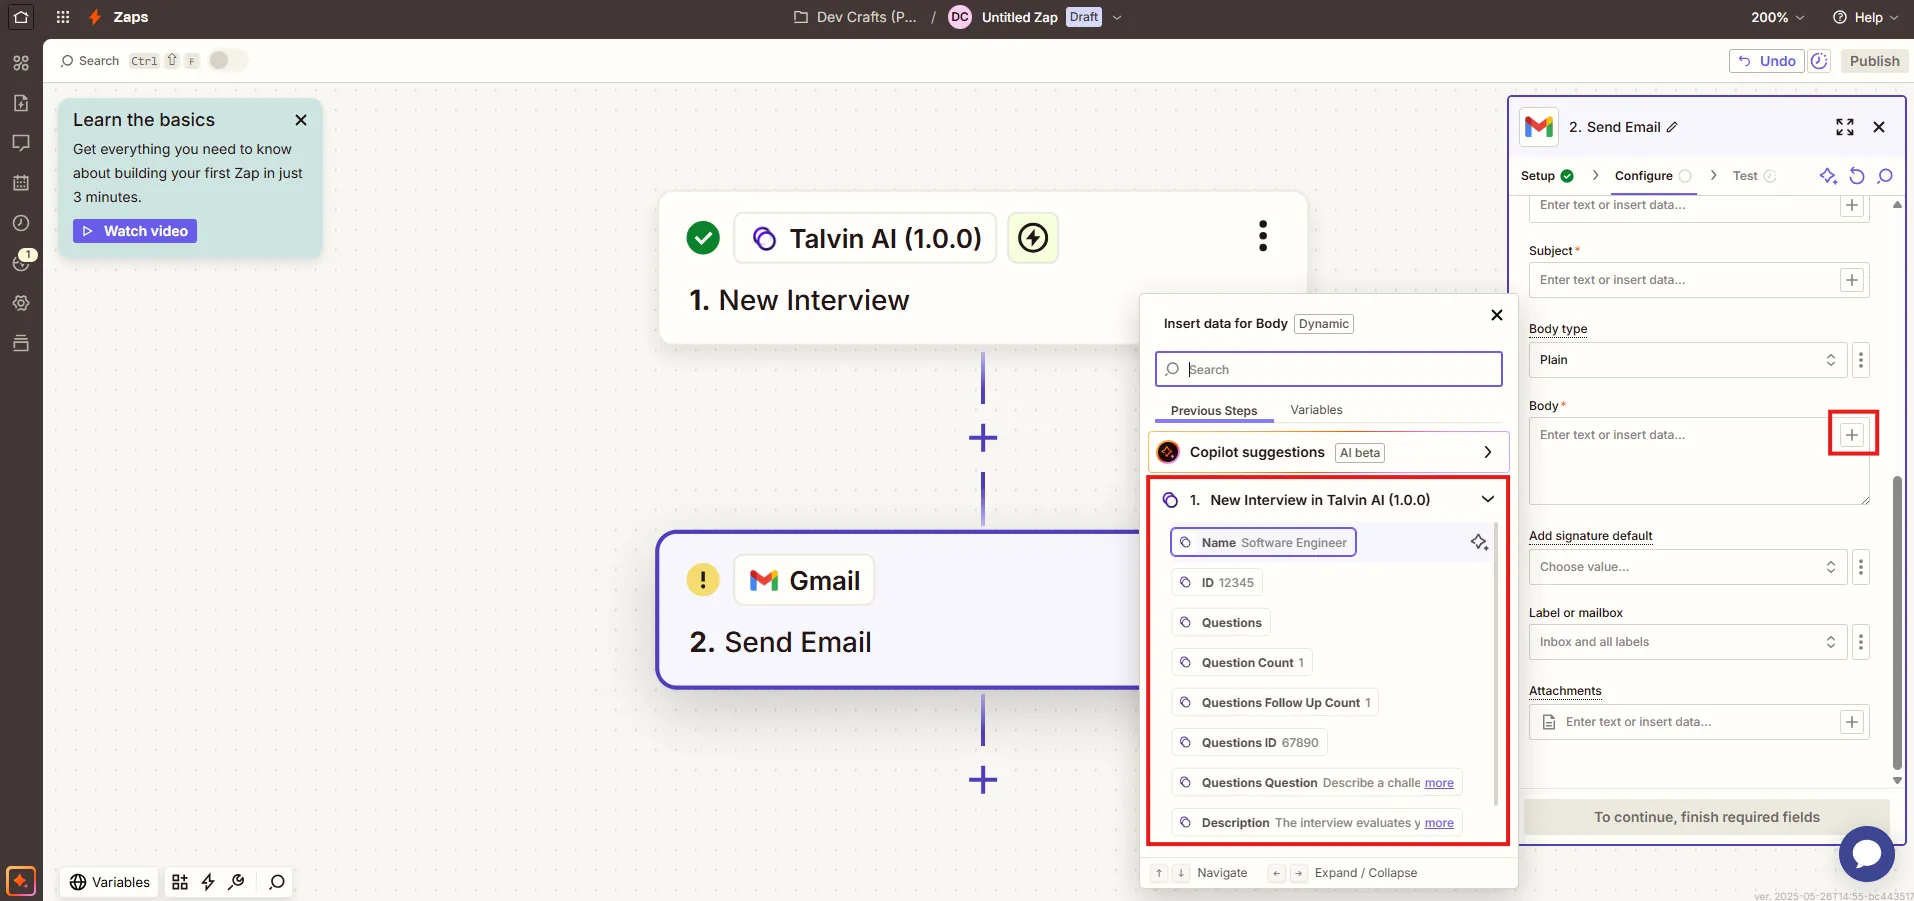
Fill in the action’s fields using data from Talvin. For example, add the interview name to an email’s subject or body.
Test and turn on your Zap
Section titled “Test and turn on your Zap”-
Follow Zapier’s prompts to test the Zap.
-
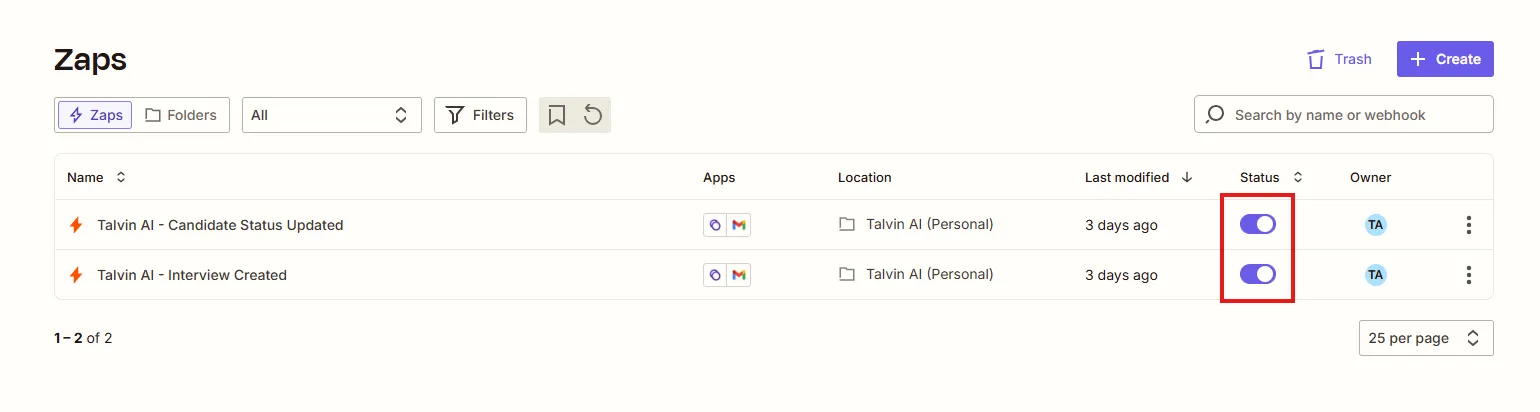
Publish the Zap and check that it’s switched on.
Turn off the Zapier integration
Section titled “Turn off the Zapier integration”To stop a Zap, turn it off or delete it in Zapier.
Do this before you rotate or revoke your Zapier key in Talvin. Zapier needs a working key to tell Talvin to stop sending events.
If you rotate your Zapier key, reconnect your Talvin AI account in Zapier with the new key.